
Replacing bay windows is a significant home improvement project that can enhance your home’s aesthetics, energy efficiency, and value. However, accurate measurements are crucial for ensuring your new bay window fits perfectly. This comprehensive guide will walk you through the process of measuring for a bay window replacement, helping you avoid costly mistakes and ensuring a smooth installation process.
Understanding Bay Windows and Why Proper Measurements Matter
Bay windows are a distinctive architectural feature consisting of three or more window panels that project outward from your home’s exterior wall. Their unique configuration creates additional interior space while allowing more natural light to enter your home. Due to their complex structure, precise measurements are essential when planning a replacement.
Inaccurate measurements can lead to significant problems, including improper fitting, air leaks, water infiltration, and unnecessary expenses. Taking the time to measure correctly will save you money and headaches during the installation process.
Types of Bay Windows You Might Be Replacing
Before measuring, it’s important to identify the specific type of bay window you have. The most common types include:
Standard Bay Windows: These typically feature a large center window with two smaller windows angled at 30-45 degrees on either side.
Box Bay Windows: These have windows set at 90-degree angles, creating a square or rectangular projection.
Bow Windows: Though technically different from bay windows, bow windows consist of four or more window panels arranged in a curved configuration.
Each type requires slightly different measurement approaches, though the fundamental principles remain the same.
Common Challenges in Bay Window Measurement
Bay windows present unique measurement challenges due to their multi-dimensional nature. Unlike flat windows, they project outward at various angles, creating complex geometries that must be precisely documented.
Additionally, older bay windows may have settled or shifted over time, resulting in uneven dimensions that need to be accounted for in your measurements. Identifying these irregularities early will help ensure your replacement window fits correctly.
Essential Tools for Measuring Bay Windows
Having the right tools on hand makes the measurement process more accurate and efficient. Before you begin, gather these essential items to ensure precise measurements of your bay window.
With proper tools, you’ll be able to document all the critical dimensions needed for your replacement project, reducing the risk of errors that could lead to improper fitting or installation problems.
Basic Measurement Tools
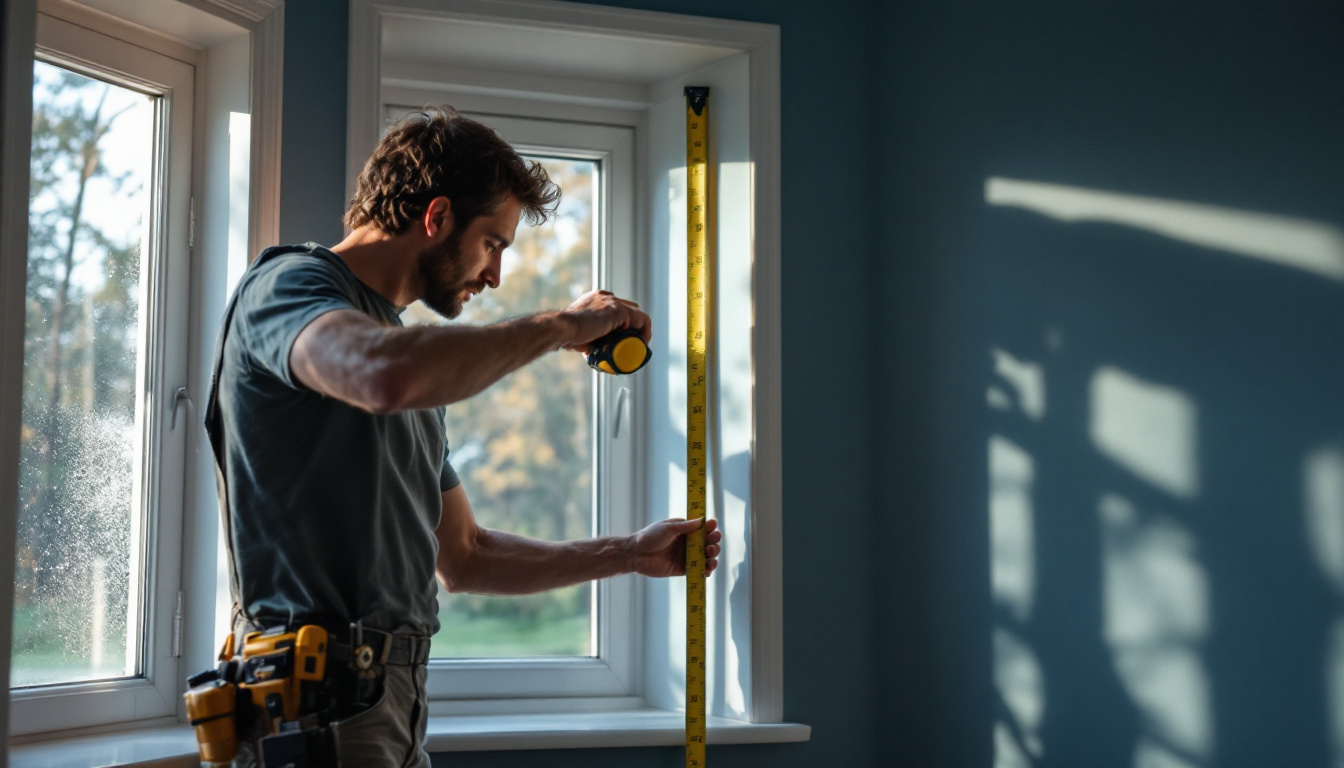
Metal Tape Measure: A sturdy, retractable tape measure (at least 25 feet long) is essential for capturing accurate dimensions. Avoid using cloth or plastic tape measures as they can stretch and provide inaccurate readings.
Carpenter’s Square: This L-shaped tool helps ensure your measurements are taken at proper right angles when needed.
Level: A 4-foot level helps determine if your window opening is plumb (vertically straight) and level (horizontally straight).
Notepad and Pencil: Document all measurements immediately to avoid forgetting or misremembering important dimensions.
Advanced Tools for Greater Precision
Laser Measuring Device: For highly accurate measurements, especially in hard-to-reach areas.
Angle Finder: This specialized tool helps determine the precise angles between window panels, which is crucial for bay windows.
Digital Camera or Smartphone: Taking photos of your existing bay window from multiple angles provides valuable reference information for manufacturers or installers.
These advanced tools aren’t absolutely necessary but can provide additional precision that helps ensure your replacement window fits perfectly.
Step-by-Step Measurement Process
Following a systematic approach to measuring your bay window will help ensure you capture all the necessary dimensions. This methodical process breaks down the complex task into manageable steps, reducing the likelihood of measurement errors.
Remember to measure twice (or even three times) to confirm your readings. Even small measurement errors can lead to significant problems during installation.
Measuring the Width
Start by measuring the total width of your bay window unit from one side to the other. Take this measurement at three different points: the top, middle, and bottom of the window. Record the smallest of these measurements to ensure your replacement window will fit within the existing opening.
For each individual window panel within the bay, measure the width from jamb to jamb (the vertical sides of the window frame). Again, measure at multiple points and record the smallest measurement.
Don’t forget to measure the width of the mullions (the vertical dividers between window panels) as these dimensions will be needed for an accurate replacement.
Measuring the Height
Measure the height of each window panel from the top of the window frame to the bottom sill. Take measurements at the left side, center, and right side of each panel, recording the smallest measurement for each.
If your bay window includes different sized panels (common in many designs), be sure to clearly label which measurements correspond to which panels in your notes.
Also measure the height from the floor to the bottom of the window sill and from the ceiling to the top of the window frame. These measurements help determine if there are any height constraints for your replacement window.
Measuring the Depth and Projection
The depth of a bay window refers to how far it projects from the exterior wall of your home. Measure from the wall to the outermost point of the bay window.
For angled bay windows, you’ll also need to measure the depth of each section and note the angles between panels. A standard bay window typically has 30 or 45-degree angles, but older or custom windows may vary.
These projection measurements are crucial for ensuring your replacement window will fit properly within the existing space and maintain the same footprint as your current window.
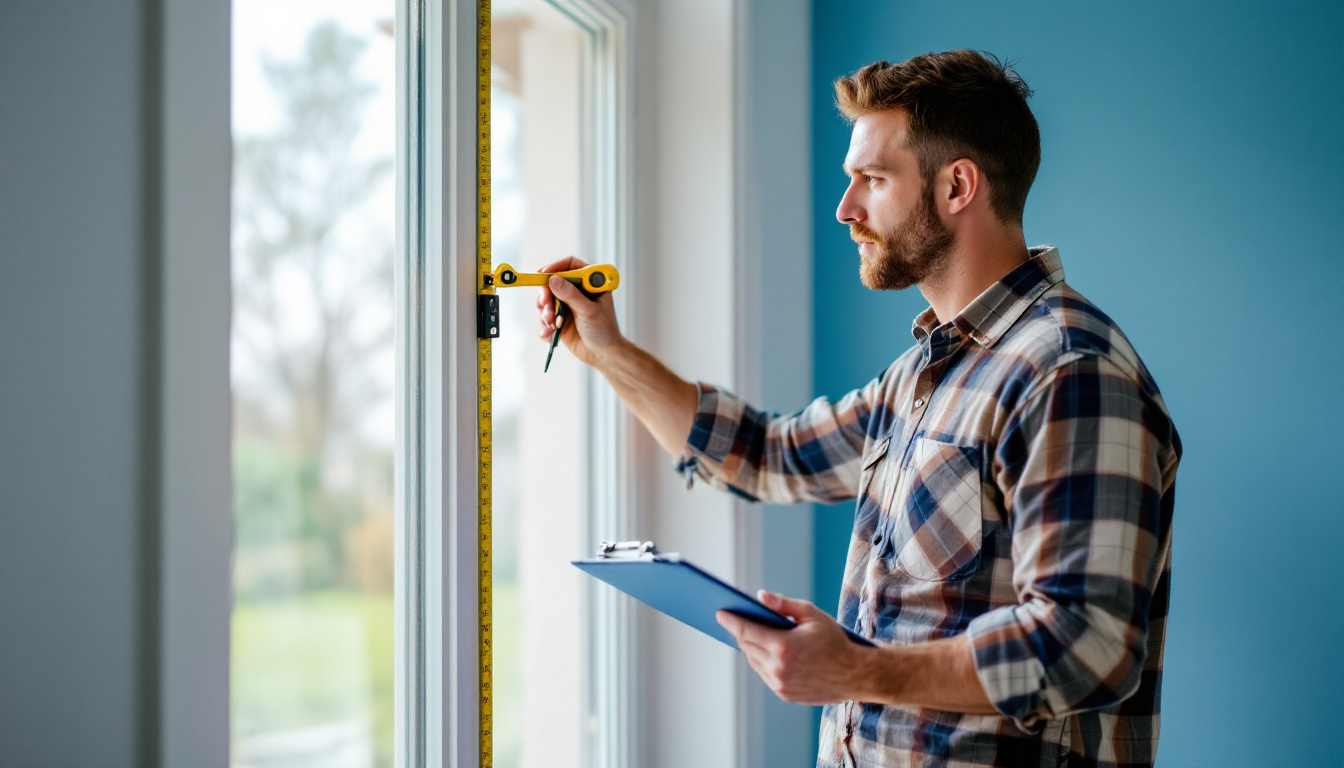
Measuring the Angles
Determining the precise angles between window panels is essential for bay window replacement. While many bay windows use standard angles (typically 30, 45, or 90 degrees), older or custom windows may have settled into slightly different angles over time.
Use an angle finder to measure the interior angles between each panel. For a typical three-panel bay window, you’ll need to measure two angles.
If you don’t have an angle finder, you can use a protractor or even create a template using cardboard that matches the angle of your existing window.
Additional Measurements and Considerations
Beyond the basic dimensions, several additional measurements and factors should be considered to ensure your bay window replacement is successful. These details can significantly impact the fit, function, and appearance of your new window.
Taking the time to document these additional elements will provide a more complete picture for manufacturers and installers, reducing the likelihood of surprises during the installation process.
Frame Thickness and Material
Measure the thickness of your existing window frame, as this dimension affects how the window sits within the wall opening. Different frame materials (wood, vinyl, aluminum, etc.) have different structural requirements and dimensions.
Note the current frame material and its condition. If you’re changing materials for your replacement window, this may affect the required dimensions and installation approach.
Also measure the depth of the window jamb (the distance from the interior wall surface to the exterior wall surface), as this affects how the window will be positioned within the wall.
Sill and Header Measurements
Measure the width and depth of the window sill, noting any unique features or decorative elements you may want to preserve or replicate.
Check the header (the structural element above the window) for size and condition. A replacement window may require additional support if the header is damaged or inadequate.
If your bay window includes a seat or interior shelf, measure its dimensions carefully, especially if you plan to maintain this feature with your replacement window.
Common Measurement Mistakes to Avoid
Even experienced DIYers can make measurement errors when dealing with complex window configurations like bay windows. Being aware of common pitfalls can help you avoid costly mistakes and ensure a successful replacement project.

Taking extra time during the measurement phase can save significant time, money, and frustration during the installation process.
Neglecting to Account for Window Operation
Different window styles (casement, double-hung, fixed, etc.) require different clearances for proper operation. Measure the space needed for window cranks, handles, or the full extension of casement windows.
Consider how the windows currently open and whether you want to maintain the same operation style or change to a different type. This affects both measurements and the overall design of your replacement bay window.
Don’t forget to account for any obstructions near the window, such as furniture, radiators, or architectural features that might interfere with window operation.
Failing to Consider Exterior Factors
Measure any exterior elements that might affect your bay window replacement, such as overhangs, adjacent walls, or landscaping features.
Check for signs of water damage or structural issues around the existing window that might need to be addressed before installation of the new window.
Consider the exterior finish and trim details you want to maintain or update with your replacement window, as these affect the overall dimensions and installation approach.
When to Seek Professional Measurement Assistance
While many homeowners can successfully measure for a bay window replacement, certain situations warrant professional assistance. Knowing when to call in an expert can save you from costly mistakes and ensure your project proceeds smoothly.

Professional window installers have specialized tools and extensive experience that allow them to account for nuances that might be missed by even the most careful DIYer.
Complex Window Configurations
If your bay window has unusual angles, custom features, or complex architectural integration, professional measurement is highly recommended. Experts can identify subtle details that might affect the fit and function of your replacement window.
Homes with historical features or non-standard construction methods often benefit from professional assessment to ensure replacement windows maintain architectural integrity while meeting modern performance standards.
If you’re planning significant changes to the size, style, or configuration of your bay window, professional guidance can help determine what’s structurally feasible and code-compliant.
Benefits of Professional Measurement Services
Many window manufacturers and installation companies offer professional measurement services, often at no cost if you purchase windows through them. These services typically include detailed documentation of all necessary dimensions and specifications.
Professional measurements usually come with some form of guarantee, ensuring that if the replacement window doesn’t fit due to measurement errors, the company will address the issue at their expense.
Experts can also provide valuable advice on window styles, materials, and features that might best suit your home’s architecture and your performance expectations.
Whether you choose to measure yourself or hire a professional, accurate measurements are the foundation of a successful bay window replacement project. With careful attention to detail and the right approach, your new bay window will enhance your home’s beauty, comfort, and energy efficiency for years to come.