

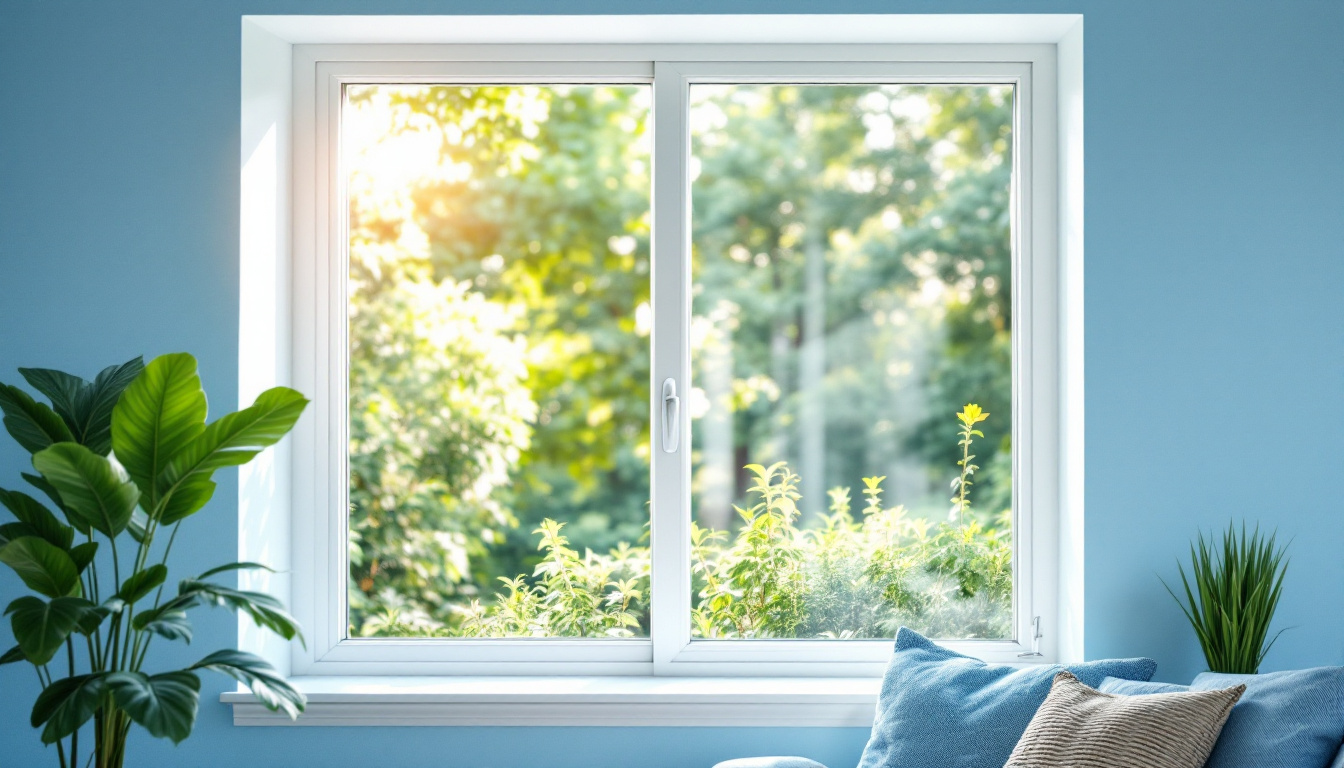
Replacing a picture window can transform your home’s appearance while significantly improving energy efficiency. picture windows, known for their large, unobstructed glass areas, provide expansive views and abundant natural light. However, accurate measurements are crucial for a successful replacement project. This comprehensive guide will walk you through the process of measuring for a picture window replacement, ensuring you get the perfect fit while maximizing energy savings.
Understanding Picture Windows and Why Proper Measurements Matter
Picture windows are fixed (non-opening) windows designed to frame outdoor views like a picture frame. Unlike operational windows, they provide uninterrupted glass areas that maximize visibility and natural light. Because they don’t have moving parts, picture windows typically offer superior energy efficiency compared to other window styles.
Accurate measurements are essential when replacing a picture window. Even small measurement errors can lead to significant problems, including improper installation, air leakage, and reduced energy efficiency that can increase your heating and cooling costs by up to 25%.
Common Challenges with Picture Window Replacements
Picture windows present unique measurement challenges due to their typically large size. Their dimensions often exceed standard window measurements, requiring custom manufacturing. Additionally, the weight of large glass panes necessitates proper structural support, making precise measurements even more critical.
Many homeowners underestimate the complexity of measuring for picture windows, leading to costly mistakes. Professional window installers report that measurement errors are among the top reasons for delays and additional expenses in window replacement projects.
Replacement Options: Full Frame vs. Insert Replacement
Before measuring, you need to determine which replacement method you’ll use. Full frame replacement involves removing the entire window down to the rough opening in the wall. This method is ideal when the existing frame is damaged or when you want to change the window size or style.
Insert replacement (also called pocket installation) keeps the existing frame and trim intact, inserting the new window into the existing frame. This method is less invasive and typically more affordable, but requires the existing frame to be in good condition.
Your measurement approach will differ depending on which method you choose, so make this decision before proceeding to the measurement steps.
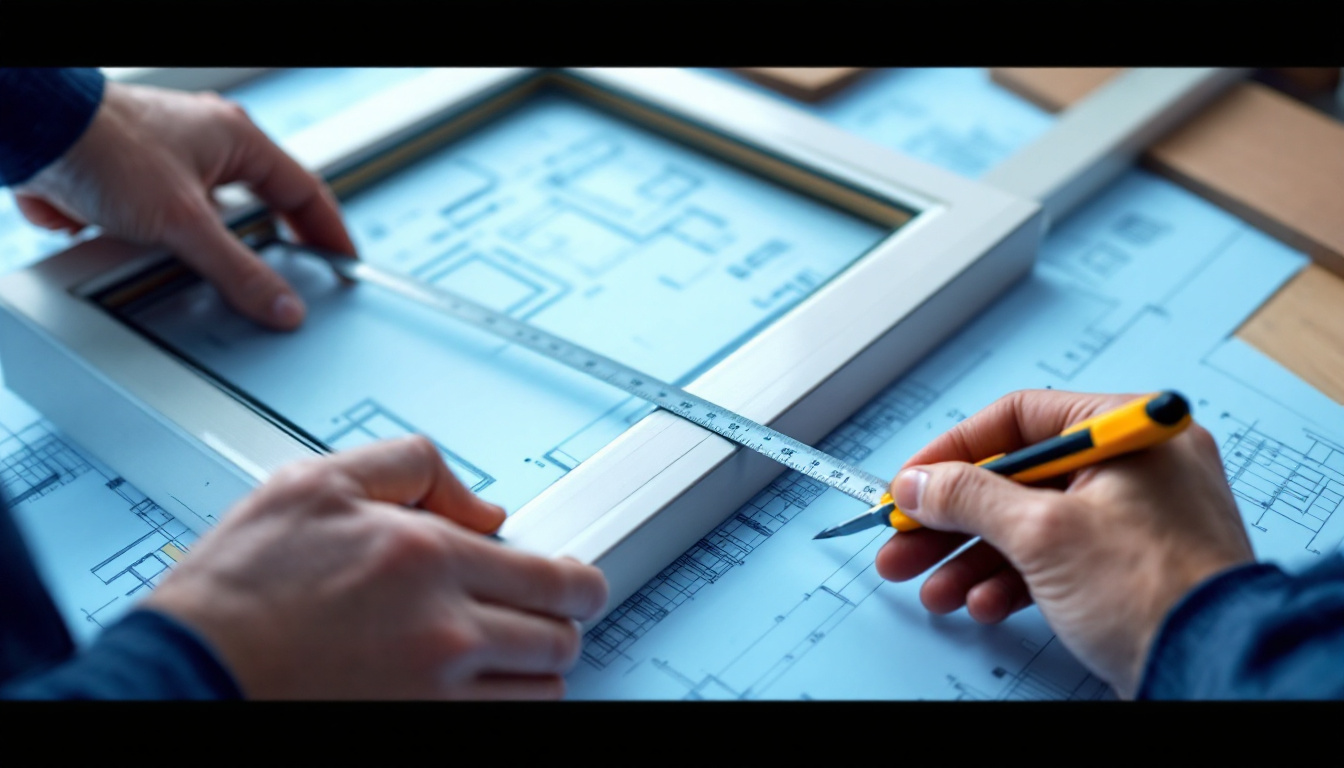
Tools and Materials Needed for Accurate Measurements
Gathering the right tools before you begin will ensure accurate measurements and save time. Most of these items are common household tools, but their importance shouldn’t be underestimated in achieving precise results.
Having all tools ready before you start prevents interruptions during the measurement process, reducing the chance of errors that could affect your window order.
Essential Measuring Tools
A metal tape measure is the most important tool for this project. Choose one that’s at least 25 feet long with clear, easy-to-read markings. Avoid using cloth or plastic tape measures as they can stretch or sag, leading to inaccurate measurements.
A carpenter’s level (2-foot length is ideal) helps ensure your measurements are perfectly horizontal and vertical. This is particularly important for picture windows, as even slight misalignments become noticeable in large glass areas.
A carpenter’s square assists in checking that corners are perfectly square, which is essential for proper window fit. Many older homes have settled over time, resulting in openings that aren’t perfectly square.
Additional Helpful Items
Keep a notepad and pencil handy to record measurements immediately. Digital devices can be convenient, but a physical backup prevents data loss. Consider taking photos of your measurements and the window opening for reference.
Masking tape is useful for marking measurement points directly on the window or wall. This visual reference helps prevent confusion when taking multiple measurements.
A flashlight may be necessary to inspect the condition of the existing frame and surrounding wall, especially in areas with limited natural light.
Step-by-Step Measurement Process for Full Frame Replacement
Full frame replacement provides the opportunity to correct any structural issues and offers more flexibility in terms of window size and style. This approach requires measuring the rough opening, which is the structural frame that supports the window.
Follow these steps carefully, taking multiple measurements at each stage to ensure accuracy. Remember that precision at this stage prevents costly adjustments later.
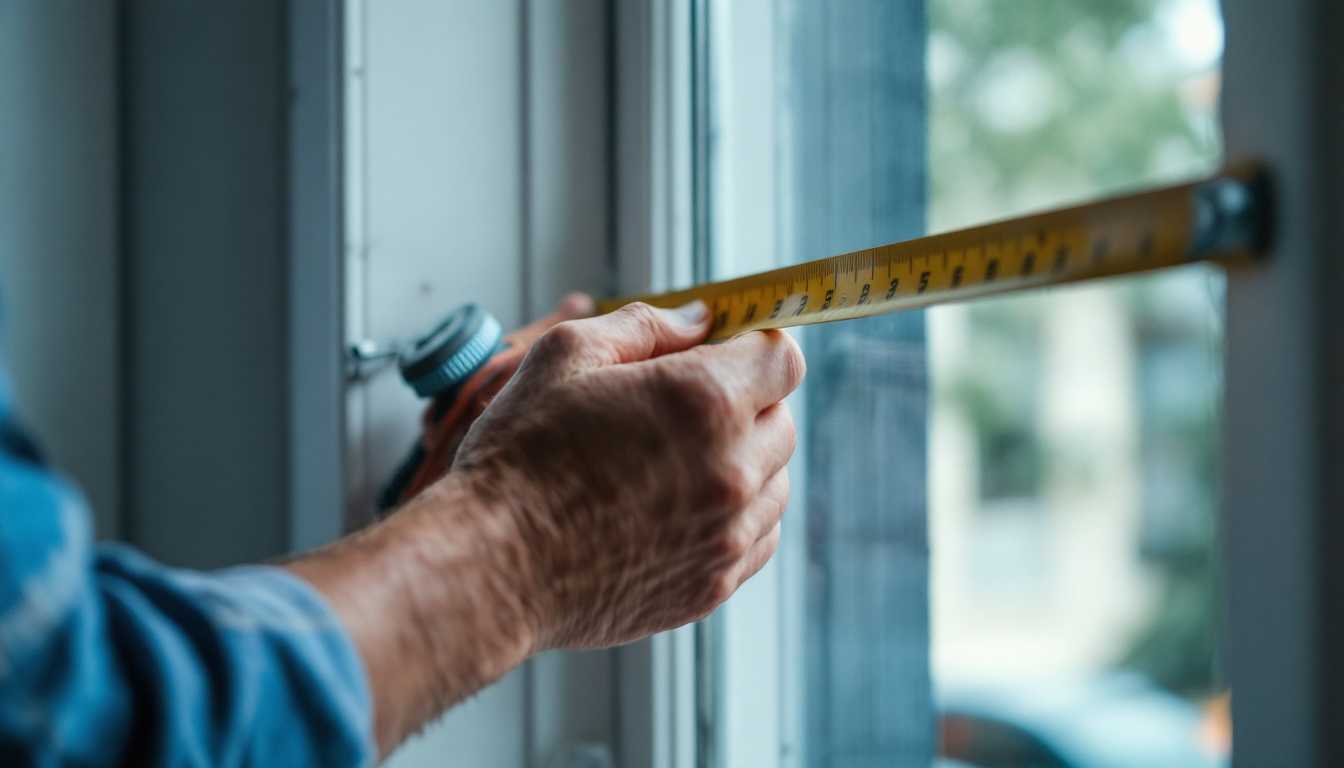
Measuring Width Dimensions
Remove interior trim pieces carefully if possible to expose the rough opening. If trim removal isn’t feasible, you’ll need to estimate the rough opening based on the visible window parts.
Measure the width of the rough opening at three points: top, middle, and bottom. Record the smallest of these measurements, as this represents the maximum width your new window can be.
For picture windows, manufacturers typically recommend subtracting 1/2 inch from the rough opening width to allow for proper installation and shimming. This space ensures the window can be leveled correctly during installation.
Measuring Height Dimensions
Measure the height of the rough opening at three points: left side, center, and right side. As with the width, record the smallest measurement to ensure your new window will fit properly.
For picture windows, subtract 1/2 inch from the rough opening height to allow for proper installation. This gap provides space for adjustments during installation and accommodates any settling that may occur.
If your picture window has an arch or other non-rectangular shape, you’ll need to create a template or take additional measurements to capture the exact shape. Consult with your window manufacturer for specific guidance on measuring specialty shapes.
Measuring Depth Requirements
Picture windows, especially energy-efficient models with multiple glass panes, can be substantially thicker than older windows. Measure the depth of your rough opening to ensure it can accommodate the new window.
The minimum depth typically needed for modern picture windows is 3-1/4 inches, but high-efficiency models with triple glazing may require more depth. Check manufacturer specifications for the models you’re considering.
If your existing opening lacks sufficient depth, you may need to modify the wall structure or choose a different window model. Consulting with a professional is recommended if structural modifications are necessary.
Measurement Process for Insert Replacement
Insert replacement is less invasive and typically more cost-effective than full frame replacement. This method preserves the existing frame and trim, making it ideal when these elements are in good condition and you’re satisfied with the current window size.
The measurement process for insert replacement focuses on the existing window frame rather than the rough opening. This requires a different approach to ensure proper fit.
Measuring the Existing Frame
Measure the width of the existing frame from jamb to jamb (the vertical sides of the frame) at three points: top, middle, and bottom. Record the smallest measurement to ensure your replacement window will fit.
Measure the height from the top of the sill to the head jamb (top of the frame) at three points: left, center, and right. Again, use the smallest measurement when ordering your replacement window.
Unlike full frame replacement, insert replacement typically requires subtracting 1/4 inch from both width and height measurements rather than 1/2 inch. This smaller allowance reflects the more precise nature of fitting within an existing frame.
Checking Frame Condition and Square
Before proceeding with insert replacement, thoroughly inspect the existing frame for signs of water damage, rot, or warping. Insert replacement is only suitable when the existing frame is structurally sound.
Check if the frame is square by measuring diagonally from corner to corner in both directions. If these measurements differ by more than 1/4 inch, the frame is out of square, which may complicate insert replacement.
Use your level to check if the sill is level and the side jambs are plumb (perfectly vertical). Significant deviations may indicate structural issues that should be addressed before proceeding with a replacement.
Special Considerations for Energy-Efficient Picture Windows
Modern energy-efficient picture windows can significantly reduce your home’s energy consumption. In fact, ENERGY STAR certified windows can lower household energy bills by an average of 12% nationwide. However, these high-performance windows often have specific installation requirements.
Understanding these requirements during the measurement phase ensures you select the right window and prepare appropriately for installation.
Accommodating Multiple Glass Panes
Energy-efficient picture windows typically feature double or triple glazing with insulating gas between panes. These multiple layers make the window unit thicker than older single-pane models.
When measuring depth, ensure your opening can accommodate the thicker profile of energy-efficient windows. Most modern double-pane units require at least 3-1/4 inches of depth, while triple-pane units may need 4 inches or more.
If your existing opening lacks sufficient depth, you may need to modify the wall or consider alternative energy-efficient options that work with your current dimensions.
Considering Solar Heat Gain Coefficients
Picture windows admit significant natural light, which affects your home’s heating and cooling needs. When selecting replacement windows, consider the Solar Heat Gain Coefficient (SHGC) based on your window’s orientation.
South-facing picture windows benefit from higher SHGC values in cold climates to capture solar heat during winter. North-facing windows perform better with lower SHGC values to minimize heat loss.
These energy performance considerations don’t directly affect measurements but should influence your window selection based on the size and orientation of your picture window.
Common Measurement Mistakes to Avoid
Even small measurement errors can lead to significant problems with your window replacement project. Being aware of common mistakes helps you avoid costly errors and ensures a smooth installation process.
Professional window installers report that measurement issues account for approximately 30% of all window replacement problems, highlighting the importance of accuracy in this critical step.
Measurement Accuracy Pitfalls
One of the most common mistakes is measuring only once at each point. Always take multiple measurements and verify your numbers before finalizing your order. A difference of even 1/8 inch can affect how well your window fits.
Another frequent error is measuring from trim to trim rather than finding the actual frame or rough opening dimensions. This mistake typically results in ordering windows that are too small for the actual opening.
Failing to check if the opening is square can lead to installation difficulties. Even if your measurements are accurate, a window designed for a square opening won’t fit properly in an opening that’s significantly out of square.
Recording and Communication Errors
When recording measurements, clearly indicate which dimension is width and which is height. The convention is to list width first, then height (W x H), but always label your measurements to avoid confusion.
When ordering custom windows, verify that the manufacturer uses the same measurement conventions you do. Some manufacturers expect rough opening measurements, while others want exact window size.
Always confirm whether measurements should include or exclude the recommended deductions for installation clearance. This small detail can make a significant difference in how well your new picture window fits.
By following these comprehensive measurement guidelines, you’ll ensure your picture window replacement fits perfectly, maximizes energy efficiency, and enhances your home’s beauty for years to come.