
Replacing your single hung windows is a smart investment that can enhance your home’s energy efficiency, comfort, and curb appeal. Before you can enjoy these benefits, however, you need to get the measurements right. Accurate measurements are crucial for ensuring your new windows fit perfectly, function properly, and deliver the energy savings you expect. This comprehensive guide will walk you through the process of measuring for single hung window replacements, helping you avoid costly mistakes and achieve professional-quality results.
Understanding Single Hung Windows
Single hung windows are one of the most common window styles in North American homes. Unlike double hung windows where both sashes can move, single hung windows feature a fixed upper sash and a movable lower sash that slides vertically.
Before taking measurements, it’s important to understand the components and terminology associated with these windows to ensure accuracy throughout the replacement process.
Key Components of Single Hung Windows
The structure of a single hung window includes several important parts that affect how measurements should be taken:
- Sashes: The upper (fixed) and lower (operable) frames that hold the glass panes
- Jambs: The vertical sides of the window frame
- Sill: The horizontal bottom part of the window frame
- Head: The horizontal top part of the window frame
- Stops: The trim pieces that hold the sash in place
Replacement Options: Full Frame vs. Insert
Before measuring, you need to determine which type of replacement you’ll be doing, as this affects what measurements you’ll need to take:
Full Frame Replacement: This involves removing the entire existing window down to the rough opening in the wall. This option is ideal for windows with significant frame damage or when you want to change the window size or style.
Insert Replacement: Also called a “pocket installation,” this method involves installing a new window within the existing frame. This is less invasive, more affordable, and works well when the existing frame is in good condition.
Essential Tools for Accurate Window Measurements
Having the right tools on hand before you start measuring will make the process much easier and more accurate. Precision is crucial when measuring for window replacements, as even small errors can lead to significant problems during installation.
Gather these tools before you begin to ensure you get the most accurate measurements possible.
Required Measuring Tools
To properly measure your windows, you’ll need:
- Steel tape measure: Provides more accuracy than cloth or plastic tape measures
- Notepad and pencil: For recording measurements
- Level: To check if the window opening is square
- Square tool: Helps verify right angles in the window corners
- Smartphone or camera: To take photos for reference
Optional but Helpful Tools
These additional tools can make the measuring process even more precise:
Laser measuring device: Provides extremely accurate measurements, especially useful for hard-to-reach windows.
Digital angle finder: Helps identify any irregularities in the window opening that might affect installation.
Moisture meter: Can detect hidden moisture issues in the existing frame that should be addressed before installation.
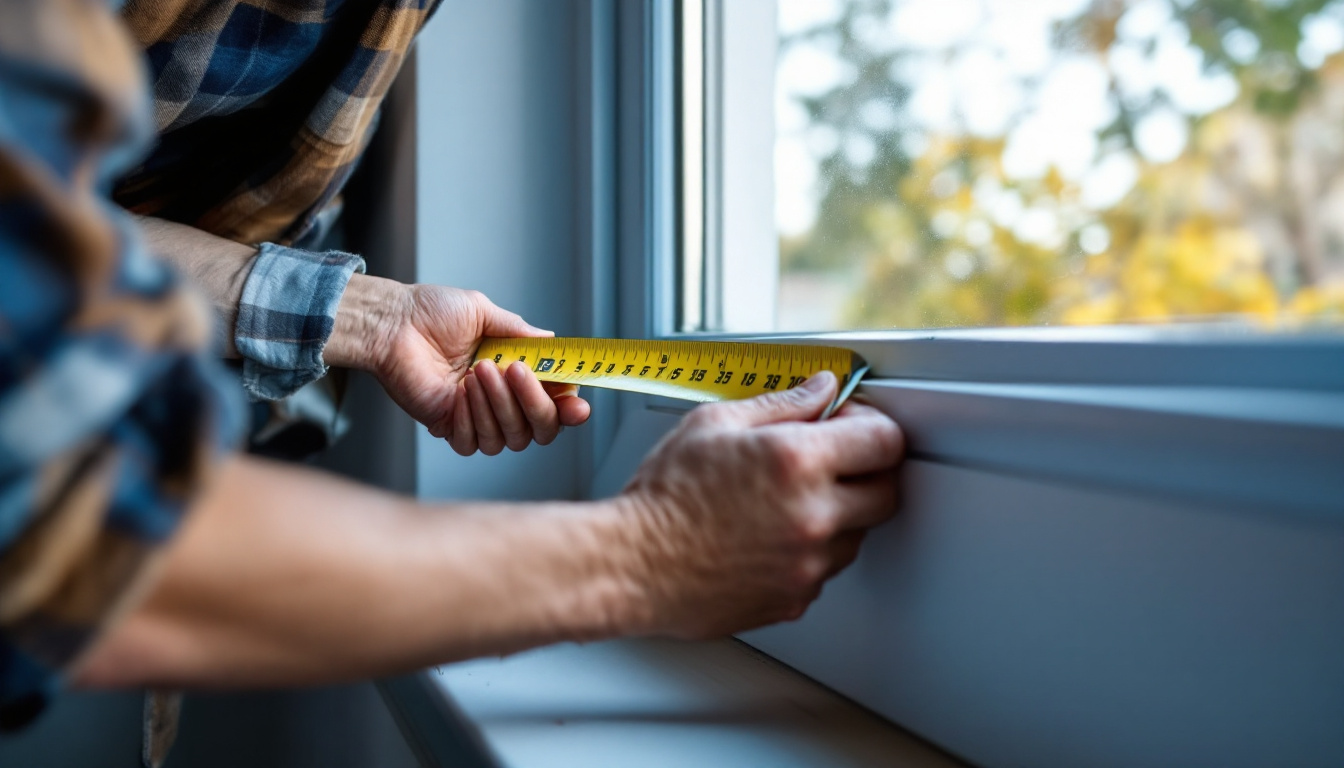
Step-by-Step Measuring Process
Accurate measurements are the foundation of a successful window replacement project. Following a systematic approach ensures you capture all the dimensions needed for ordering the right size windows. Remember to measure each window individually, even if they appear identical.
Let’s break down the measuring process into manageable steps.
Measuring Width
For the width measurement of a single hung window, you’ll need to take three separate measurements:
- Measure the distance between the jambs at the top of the window opening
- Measure the width at the middle of the window
- Measure the width at the bottom of the window
Record all three measurements to the nearest 1/8 inch. The smallest of these three measurements is your window width. For replacement windows, manufacturers typically subtract 1/4 to 1/2 inch from this measurement to ensure the window will fit in the opening.
Measuring Height
Similar to measuring the width, you’ll need three height measurements:
- Measure from the high point of the sill to the head jamb on the left side
- Measure the height at the center of the window
- Measure the height on the right side
Again, record all measurements to the nearest 1/8 inch and use the smallest measurement as your window height. This approach accounts for any irregularities in the window opening that could affect installation.
Measuring Depth
The depth measurement is often overlooked but is crucial for ensuring your new window will fit properly:
Measure the depth of the window jamb from the inside stop to the outside blind stop. For most replacement windows, you’ll need at least 3 1/4 inches of depth for proper installation. If your measurement is less than this, consult with a window professional about your options.
Checking for Square
Windows that aren’t square can cause significant problems during installation and operation:
Measure diagonally from the top left corner to the bottom right corner, then from the top right to the bottom left. If these measurements differ by more than 1/4 inch, your window opening isn’t square. Note this discrepancy when ordering, as special accommodations may be needed.
Common Measuring Mistakes to Avoid
Even experienced DIYers can make measuring errors that lead to costly problems. Being aware of these common pitfalls can help you avoid them and ensure your window replacement project goes smoothly.
Let’s examine the most frequent measuring mistakes and how to prevent them.
Assuming Windows Are Standard Sizes
One of the biggest mistakes homeowners make is assuming their windows are standard sizes. In reality, window dimensions can vary significantly, even within the same house. Each window must be measured individually to ensure proper fit.
Even windows that appear identical at first glance may have slight variations due to settling of the house over time or differences in the original installation. Taking the time to measure each window separately will save you from headaches later.
Measuring the Existing Window Instead of the Opening
Another common error is measuring the existing window rather than the opening itself. For replacement windows, you need to measure the pocket or rough opening where the new window will be installed.
If you’re doing an insert replacement, measure the existing frame opening after removing the stops but before removing the old sash. For full-frame replacements, you’ll need to measure the rough opening after the old window has been completely removed.
Rounding Measurements Incorrectly
Precision matters when it comes to window measurements. Always measure to the nearest 1/8 inch and record the exact measurement. Avoid the temptation to round up or down to the nearest inch or half-inch.
When recording measurements, always use the format width x height to avoid confusion. For example, write “36 1/4″ x 60 3/8″” rather than just listing the numbers without context.
Special Considerations for Single Hung Windows
Single hung windows have unique characteristics that require special attention during the measuring process. Understanding these considerations will help ensure your replacement project goes smoothly and results in properly functioning windows.
Let’s explore some specific factors to keep in mind when measuring for single hung window replacements.
Accounting for the Fixed Upper Sash
Unlike double hung windows, single hung windows have a fixed upper sash that doesn’t move. This affects how you measure and what type of replacement options are available:
When measuring the height, make sure you account for the full height including both the fixed upper sash and the movable lower sash. The proportion between these two elements should be considered when selecting your replacement window to maintain the original look of your home.
Considering Egress Requirements
If your single hung window is in a bedroom or other area that requires emergency egress, you’ll need to ensure the replacement window meets building code requirements:
Most residential building codes require egress windows to have a minimum net clear opening of 5.7 square feet, with minimum dimensions of 24 inches high and 20 inches wide. The sill height typically cannot exceed 44 inches from the floor. Verify your local building codes before ordering replacement windows for bedrooms.
Recording and Organizing Your Measurements
Proper documentation of your window measurements is essential for a successful replacement project. Organized records help prevent confusion when ordering windows and ensure you get exactly what you need for each opening in your home.
Follow these guidelines to create a comprehensive record of your window measurements.
Creating a Window Measurement Chart
Develop a systematic approach to recording measurements for multiple windows:
- Create a floor plan or list of all windows that need replacement
- Assign each window a unique identifier (e.g., “Kitchen North” or “Bedroom 1 East”)
- Record all measurements for each window, including width, height, and depth
- Note any special considerations like out-of-square conditions
- Take photos of each window with its identifier visible for reference
Double-Checking Your Measurements
The old carpenter’s adage “measure twice, cut once” applies perfectly to window replacement:
After completing all your measurements, go back and re-measure each window to verify your numbers. Ideally, have a second person take independent measurements to compare with yours. This double-check can catch errors before they become expensive problems.
Remember that most window manufacturers will not accept returns on custom-sized windows, so accuracy is crucial to avoid costly mistakes.
When to Consult a Professional
While measuring for window replacements is a task many homeowners can handle, there are situations where professional assistance is advisable. Recognizing when to call in an expert can save you time, money, and frustration.
Consider these scenarios where professional measurement services might be the better option.
Complex Window Configurations
Some window situations are more complicated than others and may benefit from professional expertise:
Bay windows, bow windows, or windows with unusual shapes often require specialized knowledge to measure correctly. Windows in older homes with settled frames or non-standard construction may also present challenges that professionals are better equipped to handle.
Signs of Structural Issues
If you notice any of these warning signs during your measuring process, it’s time to consult a professional:
- Significant rot or water damage around the window frame
- Windows that are severely out of square (more than 1/2 inch difference in diagonal measurements)
- Cracks in the surrounding wall
- Evidence of previous improper installation
- Structural sagging above the window
These issues may indicate underlying problems that should be addressed before window replacement proceeds.
By following this comprehensive guide to measuring for single hung window replacements, you’ll be well-prepared to order windows that fit perfectly and perform efficiently for years to come. Remember that accurate measurements are the foundation of a successful window replacement project, so take your time and be precise. Your attention to detail at this stage will pay dividends in energy savings, comfort, and satisfaction with your new windows.