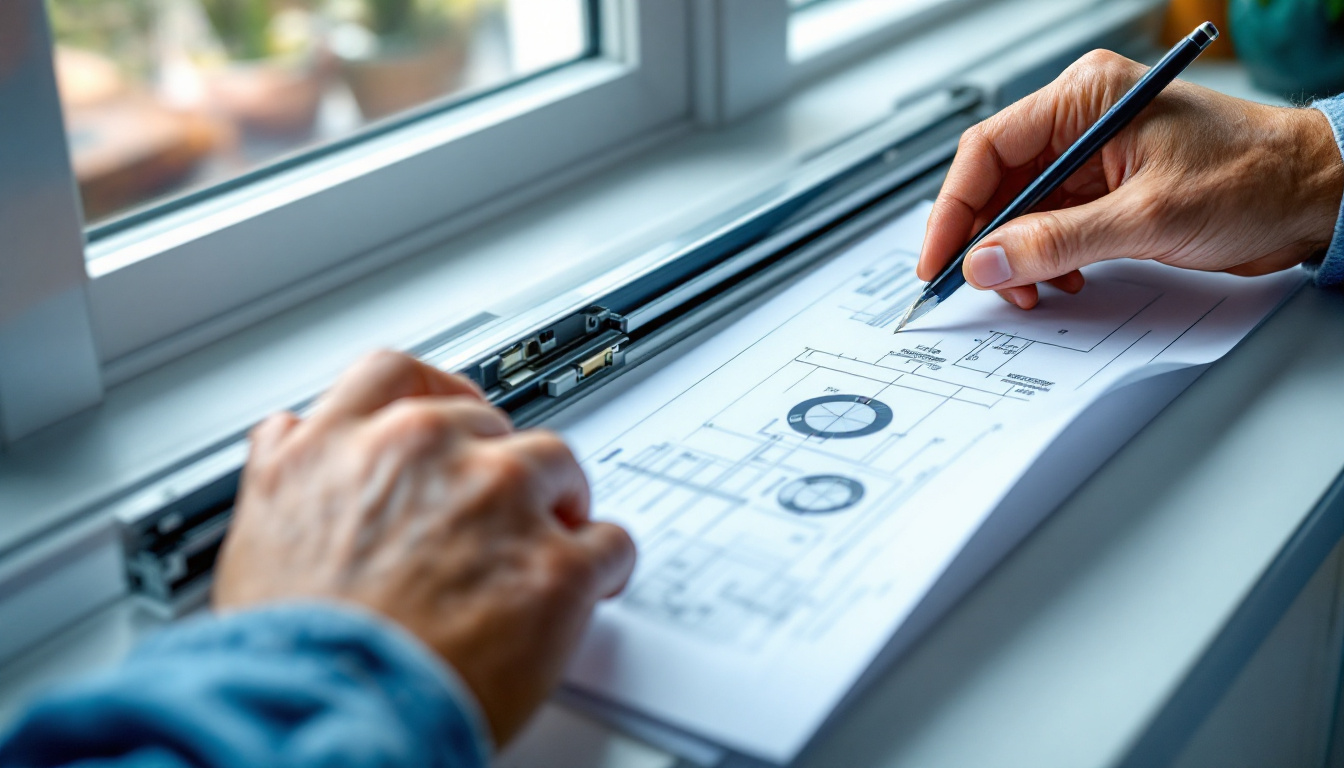
Replacing your slider windows is an excellent way to improve your home’s energy efficiency, comfort, and appearance. However, before you can enjoy these benefits, you need to ensure you’re ordering the correct size replacement windows. Accurate measurements are crucial for a proper fit, optimal performance, and avoiding costly mistakes. This comprehensive guide will walk you through the process of measuring for slider window replacements, ensuring you get it right the first time.
Understanding Slider Windows and Why Proper Measurements Matter
Slider windows operate horizontally along a track, with one or more sashes that slide from side to side. Their simple operation and unobstructed views make them popular choices for many homeowners. When replacing these windows, even small measurement errors can lead to significant problems with installation, functionality, and energy efficiency.
Improperly sized replacement windows can result in drafts, water leakage, operational difficulties, and may even void manufacturer warranties. Taking precise measurements is the foundation of a successful window replacement project.
Types of Slider Windows You May Be Replacing
Before measuring, it’s important to identify the specific type of slider window you have. Standard slider windows typically have two sashes, with one fixed and one that slides. However, you might also have a three-panel configuration where the center panel is fixed and the outer panels slide, or a four-panel design with two sliding sashes in the middle.
Each configuration requires slightly different measurement considerations, particularly when determining the size of the operable portions versus fixed sections. Understanding your current window’s design will help ensure your replacement matches both functionally and aesthetically.
Replacement Options: Full Frame vs. Insert Replacement
There are two primary approaches to window replacement: full-frame replacement and insert (or pocket) replacement. Full-frame replacement involves removing the entire window down to the rough opening in the wall. This method is more invasive but allows for inspection and repair of any damage to the surrounding structure.
Insert replacement, on the other hand, keeps the existing frame and only replaces the sashes and hardware. This option is less disruptive but requires that your existing frame is in good condition. The measurement process differs slightly depending on which replacement method you choose.
Essential Tools for Accurate Window Measurements
Before you begin measuring, gather the right tools to ensure accuracy. Having the proper equipment will make the process easier and help you avoid costly measurement errors that could lead to ill-fitting windows.
The quality of your measuring tools directly impacts the accuracy of your measurements, so don’t cut corners when it comes to equipment.
Required Measuring Tools
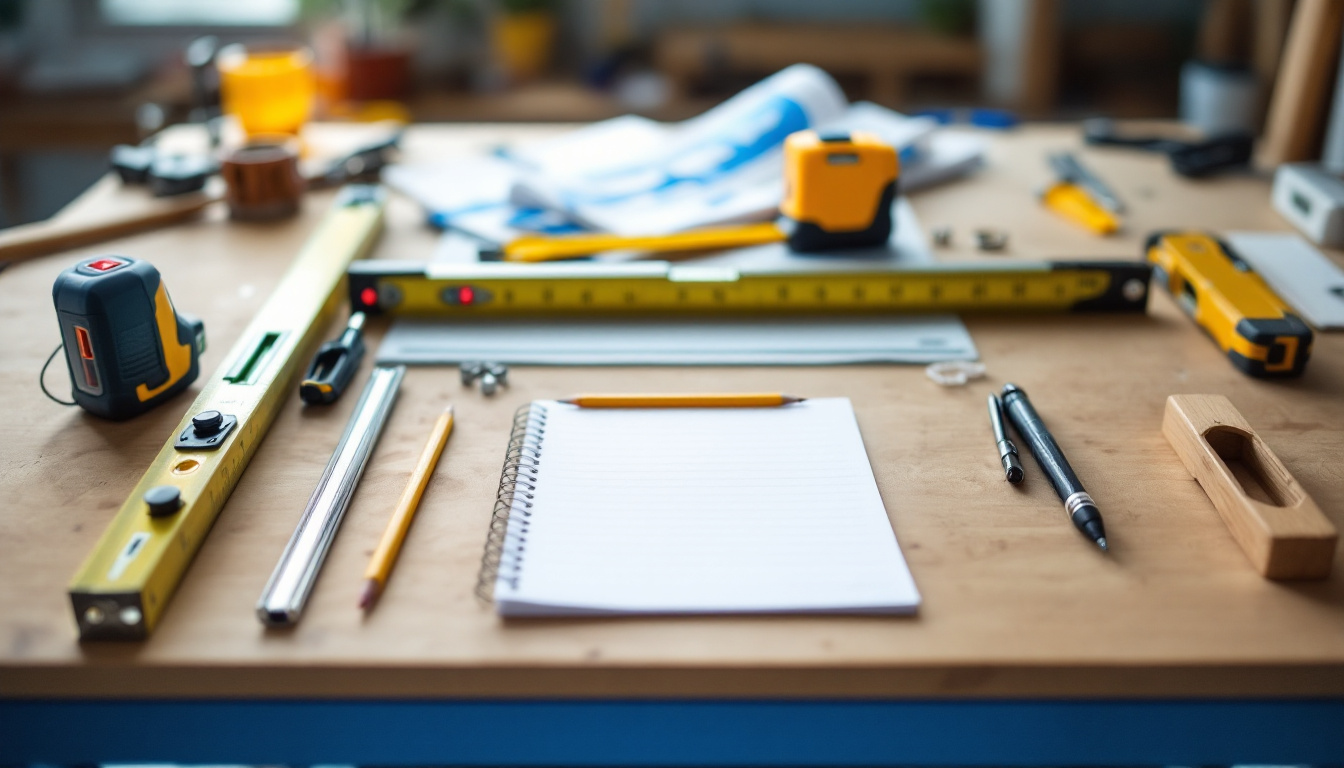
At minimum, you’ll need a steel measuring tape that’s at least 25 feet long. Steel tapes provide more accuracy than cloth or plastic measuring tapes, which can stretch or sag. A tape measure with clear, easy-to-read markings will help prevent reading errors.
You’ll also need a notepad and pen to record measurements, a level to check if your window opening is square, and a digital camera or smartphone to take reference photos. Some homeowners find that a laser measuring tool provides additional precision, though this isn’t strictly necessary for most residential applications.
Optional but Helpful Equipment
While not essential, several additional tools can make the measuring process easier and more accurate. A carpenter’s square helps verify right angles in your window opening. Painter’s tape can be useful for marking measurement points directly on the window frame.
If you’re planning a full-frame replacement, a pry bar may be helpful to carefully remove interior trim to access the rough opening. For older homes with potentially uneven openings, a set of shims can help you determine what adjustments might be needed during installation.
Step-by-Step Measurement Process for Slider Windows
Accurate measurements require a systematic approach. Following these steps will ensure you capture all the dimensions needed for your replacement slider windows. Remember that precision is critical—even small errors can result in windows that don’t fit properly.
It’s recommended to measure each dimension multiple times to verify accuracy, and always record your measurements immediately to avoid forgetting or mixing them up.
Measuring Width Dimensions
For width measurements, you’ll need to take three separate measurements: at the top, middle, and bottom of the window opening. For insert replacements, measure the distance between the jambs (the vertical sides of the window frame) on the inside of the window.
For full-frame replacements, remove the interior trim to measure the rough opening width. In both cases, measure from one side to the other in a straight horizontal line. Record all three measurements, noting the smallest of the three—this is the critical width dimension you’ll use when ordering your replacement window.
If there’s a significant difference between your three width measurements (more than ¼ inch), your window opening may not be square, which could require additional adjustments during installation.
Measuring Height Dimensions
Similar to width, take three height measurements: at the left side, center, and right side of the window. For insert replacements, measure from the head jamb (top) to the sill (bottom) on the inside of the window frame.
For full-frame replacements, measure the height of the rough opening after removing the trim. Again, record all three measurements and note the smallest one—this will be your critical height dimension for ordering purposes.
Pay special attention to the sill measurement, as this area often has the most variation due to settling or previous water damage. Ensure you’re measuring to the actual sill and not to any removable parts like screen tracks.
Measuring Depth Dimensions
The depth of your window opening is crucial for ensuring your new slider window will fit properly within the wall. Measure the depth of the jamb from the inside edge to the outside edge. For most residential applications, you’ll need a minimum depth of 3¼ inches to accommodate standard replacement windows.
If you’re planning an insert replacement, also measure the depth of the existing window frame to ensure the new window unit will fit within it. Insufficient depth can lead to installation problems or may require you to select a different window style or installation method.
Special Considerations for Slider Windows
Slider windows have unique characteristics that require specific measurement considerations. Understanding these factors will help ensure your replacement window functions properly and meets your expectations for both appearance and performance.
These special considerations can significantly impact the success of your window replacement project, so don’t overlook them during the measurement process.
Track and Rail Measurements
Slider windows operate on tracks, so measuring the existing track width and depth is important. This ensures your new window’s sliding mechanism will function smoothly. Measure both the upper and lower tracks, as they may have different dimensions.
Also measure the height of any existing rails, particularly if you’re doing an insert replacement. The rail height affects the visible glass area and the overall appearance of your replacement window. If you want to maximize your view, you might opt for a replacement with slimmer rails than your current window.
Accounting for the Sliding Panel Configuration
Note which panels in your current slider window are fixed and which are operable. Most slider windows have one fixed panel and one sliding panel, but some configurations may differ. Measure the width of each panel separately and note their positions (left, right, or center).
If you’re planning to change the configuration (for example, switching which side slides), make sure to communicate this when ordering your replacement window. Some homeowners choose to upgrade from a single sliding panel to a double sliding configuration for improved ventilation options.
Measuring for Energy Efficiency Upgrades
If energy efficiency is a primary concern, pay attention to the existing window’s glass package and frame construction. Measure the thickness of the current glass (single pane, double pane, or triple pane) and the overall frame thickness.
Modern energy-efficient slider windows often feature thicker glass packages and frames to accommodate advanced technologies like Low-E coatings, gas fills, and thermal breaks. Ensure your window opening can accommodate these thicker profiles without requiring significant modifications to the surrounding structure.
Common Measurement Mistakes to Avoid
Even experienced DIYers can make measurement errors that lead to problems with window replacement. Being aware of these common pitfalls can help you avoid costly mistakes and ensure your project goes smoothly from start to finish.
Taking the time to double-check your work and avoid these errors will save you significant headaches down the road.
Measurement Accuracy Errors
One of the most common mistakes is rounding measurements to the nearest inch or half-inch. Window measurements should be precise to the nearest 1/8 inch or even 1/16 inch for optimal fit. Always use the exact measurements rather than rounding up or down.
Another frequent error is measuring only once in each dimension. Taking multiple measurements at different points helps identify any irregularities in the opening. Similarly, failing to identify the smallest measurement when the opening isn’t perfectly square can result in a window that’s too large for the space.
Confusing Rough Opening vs. Unit Dimensions
Many homeowners mistakenly order windows based on the exact dimensions they measure, without accounting for the difference between rough opening measurements and actual unit dimensions. Typically, replacement windows should be ordered 1/4 to 1/2 inch smaller than the smallest measured width and height to allow for proper installation and adjustment.
When communicating with window manufacturers or suppliers, be clear about whether you’re providing rough opening measurements or desired unit dimensions. Different suppliers may have different standards for how they want measurements provided, so always clarify their requirements before placing an order.
Professional Tips for Successful Slider Window Replacement
Beyond basic measurements, several professional insights can help ensure your slider window replacement project is successful. These tips come from industry experts with years of experience in window installation and replacement.
Incorporating these professional recommendations can elevate your project from merely functional to truly exceptional in terms of appearance, performance, and longevity.
When to Consider Professional Measurement Services
While measuring for replacement windows is certainly a DIY-friendly task, there are situations where professional measurement services are worth considering. If your home is older with potentially non-standard openings, if you’re replacing multiple windows, or if you’re unsure about your measurements, professional services can provide peace of mind.
Many window retailers offer free or low-cost measurement services when you purchase windows through them. This service often includes a warranty that covers replacement costs if the measurements prove incorrect. For complex installations or valuable homes, this added assurance can be well worth the investment.
Documentation Best Practices
Create a detailed measurement sheet for each window being replaced. Include all dimensions, notes about the window’s condition, photos from multiple angles, and any special considerations. This documentation will be invaluable when ordering windows and during the installation process.
Consider creating a simple diagram of each window opening with all measurements clearly labeled. This visual reference can help prevent confusion, especially when replacing multiple windows of similar but slightly different sizes. Keep this documentation in a safe place until your project is complete.
By following this comprehensive guide, you’ll be well-equipped to measure accurately for your slider window replacement project. Remember that precision is key, and taking the time to measure correctly will save you money, time, and frustration in the long run. With proper measurements in hand, you’ll be one step closer to enjoying the improved comfort, energy efficiency, and beauty that new slider windows can bring to your home.


